Croissants & Chocolate croissants

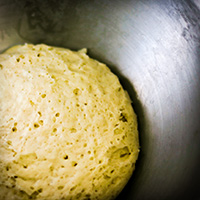
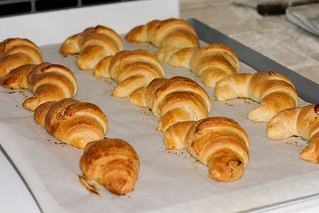
This recipe is a little bit special for me because I first started my pastry and baking hobby with a (chocolate) croissant recipe. After moving to the US from France, I slowly began to miss french pastries and viennoiseries. In France those are very common, so common I naively thought croissants were super easy to make… Little did I know the journey I were about to encounter to succeed a leavened puff pastry. It took me a while to get the result I remembered from my childhood boulangeries, until that morning, baking some for a friend’s baby shower, I reached the result you can see above. Exactly what I wanted: not too dense unlike a brioche but fluffy, soft but crispy at the same time thanks to the multiple layers, and of course, a rich and complex flavour from the flour’s gluten, complemented by the butter instead of being overpowered by it.
But don’t worry, they are some tricks to succeed this recipe at home without professional tools (like a steam oven that most of us can only dream about). First you need to read the leavened puff pastry and the French croissant dough posts. Once you have your dough, only 3 things are left do do.
Shaping the dough
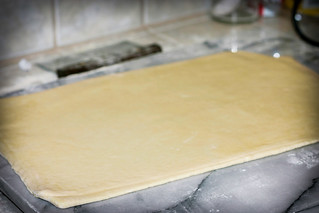
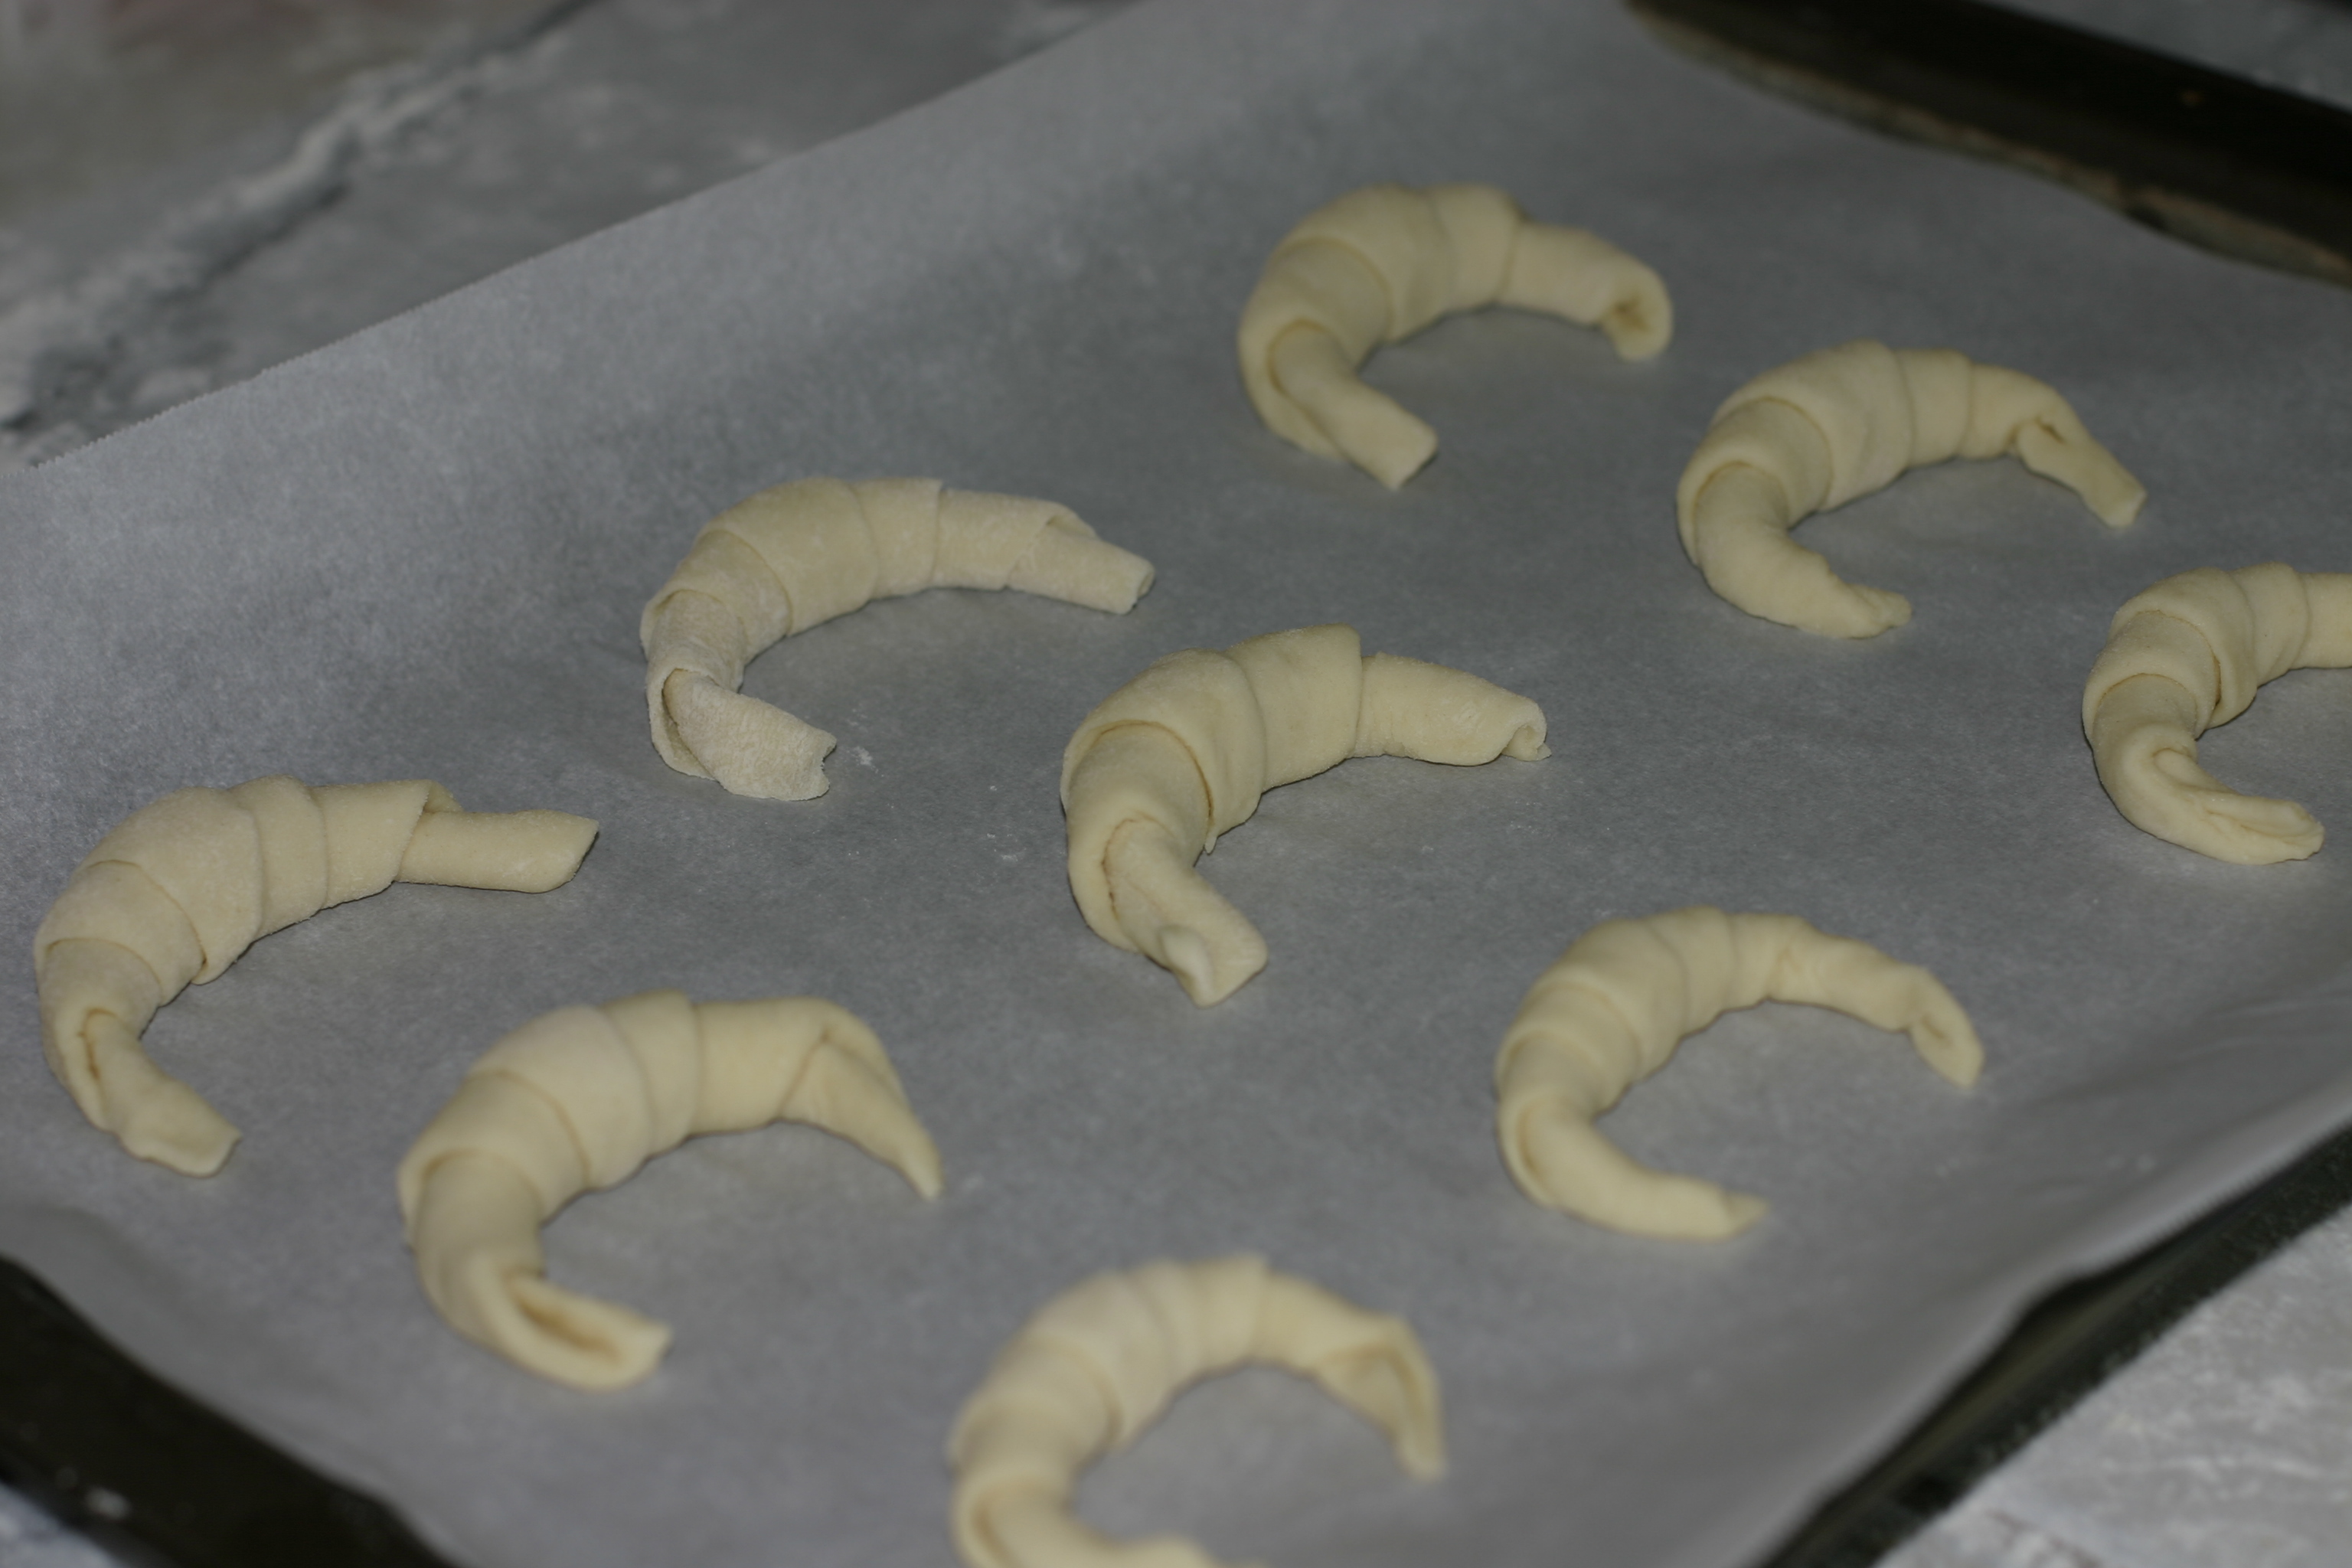
You need to shape your dough into 15cm wide rectangles which are about 3mm thick (you might have to shape it into a 30cm wide rectangle and cut it in half afterward). Be careful not to have the dough too thin, otherwise it almost doesn’t rise at all and you’re left with some ridiculously tiny compact baby croissants. They sure look cute, but that’s the only thing they have for them 😉
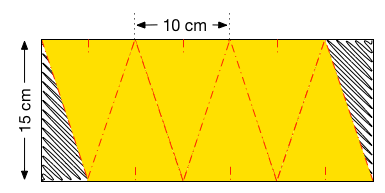
Following this diagram, cut the rectangle into isosceles triangles with a base of about 10-12cm, and additional small cuts in the middle of their bases. One rectangle should give you about 6 triangles.
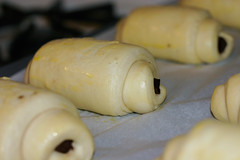
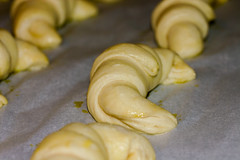
To shape the croissants, pull slightly on the tip to extend it, and roll the croissant triangle starting from the base to the tip, making sure it ends up under the shaped croissant.
If you want to make chocolate croissants, just cut the dough into small rectangles, large enough for a bar of your favorite chocolate and long enough to be able to roll it inside and make two full 360° turns around it.
Rise (and shine)
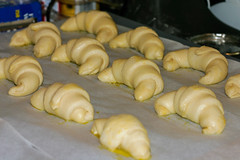
Put the shaped croissants on a parchment paper and oven plate, and let it rise in a warm place (not too warm though! otherwise the butter will melt…) for about 2h-2h30. Make sure there’s no airflow too. A good place is to put it in the oven (turned off obviously). During winter you can warm up your oven slightly (about 20°C/68°F) before putting the croissants to rise inside.
Do not “over-rise” the croissants though, otherwise they could deflate. A check is to gently press the dough with a finger: it should take its shape back once you remove it.
Baking
If you put the croissants to rise in the oven, remove them first, and pre-heat your oven to 200°C/390°F with a metal container at the bottom of the oven. Use a very cheap metal container since it is likely going to be damaged with the abuse we’re going to put it through…
Using egg yolks mixed with a few drops of water or milk, (gently!! you don’t want to deflate them) glaze the croissants with a brush.
Once the oven is ready and heated, be prepared, you’ll have to do the following steps very quickly:
- put the croissants inside the oven
- throw some hot water inside the metal container you put at the bottom
- close the oven door as fast as possible!
Since you probably don’t have a professional steam oven, the idea is to create a water vapor cloud which would moist the surface of your croissants during the first minutes of baking, enabling the croissants to rise even more before the crust starts to form. Obviously you have to be fast. If you don’t close the oven door fast enough the water vapor just escapes outside and this trick is useless. I said to use a cheap metal container because the metal container is going to have to endure quite some thermal choc, which would likely destroy any non-stick coating it could have. Therefore, just use a plain metal one, and use the same one all the time, there’s no need to abuse/destroy more than one container.
That’s pretty much it: let them bake for about 10-15min and enjoy! 🙂
Troubleshooting
Problem: the croissants didn’t rise!
Solution(s): make sure the dough is thick enough, no less than 3mm, otherwise the gaz produced by the yeast won’t be trapped inside the dough and it won’t rise. You might also have a temperature issue if it’s winter (you can preheat your oven to about 20°C/68°F and let them rise inside if that’s the case). Make also sure your yeast is well alive: proof the yeast before using it (read my post about the yeast).

Problem: the croissants are not fluffy enough, they are like a brioche inside!
Solution: either they didn’t rise enough, the puff pastry was not done well enough, or you used too much milk in the croissant dough recipe. You can substitute partially or totally the milk with spring water. The croissants will be crispier, and less brioche-like.
Problem: the croissants are unrolling during rising/baking.
Solution: Make sure the triangle tip/end is under the croissant when you shape them.
Conclusion
It took me 4-5 attempts to get the results I wanted, and hopefully all my past failures are going to speed up the process for you 🙂
Let me know if you have any questions or other troubles I didn’t list in my troubleshooting section. I’ll try my best to answer you and update this section.